Grab the project's sources using git clone https://github.com/Rajesh-Sec-Project/simon.git.
Build the GUI component, you will need the Qt5 framework properly insstalled alongside with QtMultimedia.
You will also need QtChooser.
Then, type cd host && make release, all should go well and you should see no errors.
Get a drone (and the LED board). Power-on the drone (but don't plut the LEDs board yet).
Connect your computer to the drone's wifi network, then type in utils.d/setup.sh.
Wait some seconds, then plug in the LEDs when requested, the game should start shortly !
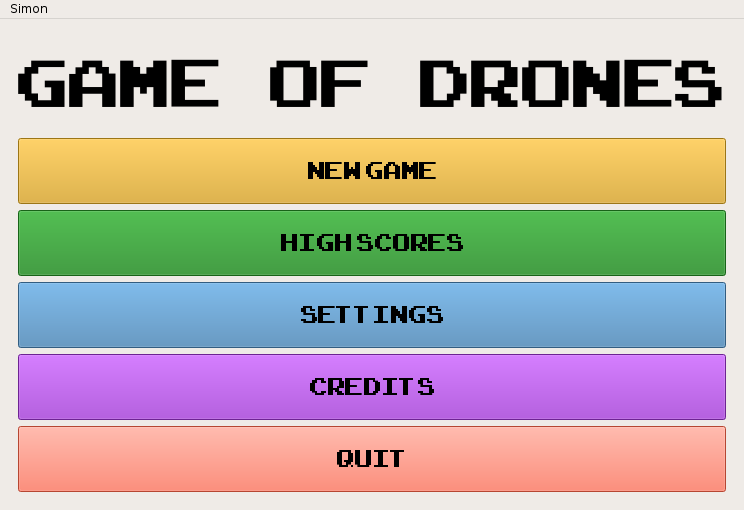
![Main menu] (https://raw.githubusercontent.com/Rajesh-Sec-Project/simon/master/docs.d/screenshots/main_menu.png)
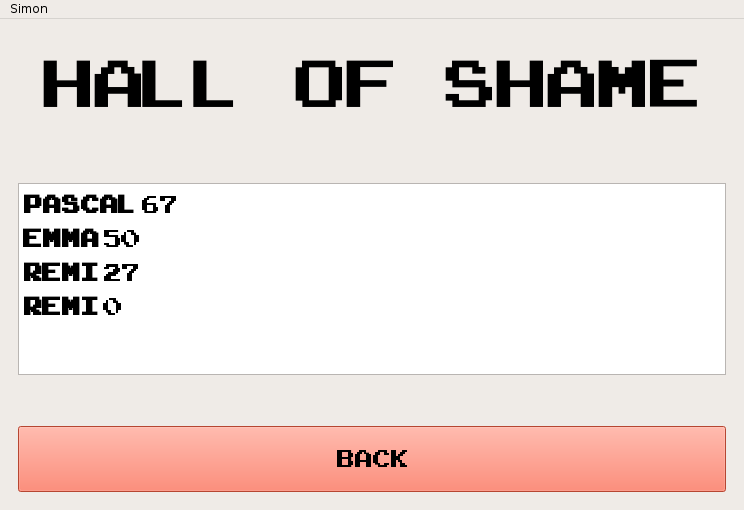
![High scores hall of fame] (https://raw.githubusercontent.com/Rajesh-Sec-Project/simon/master/docs.d/screenshots/high_scores.png)
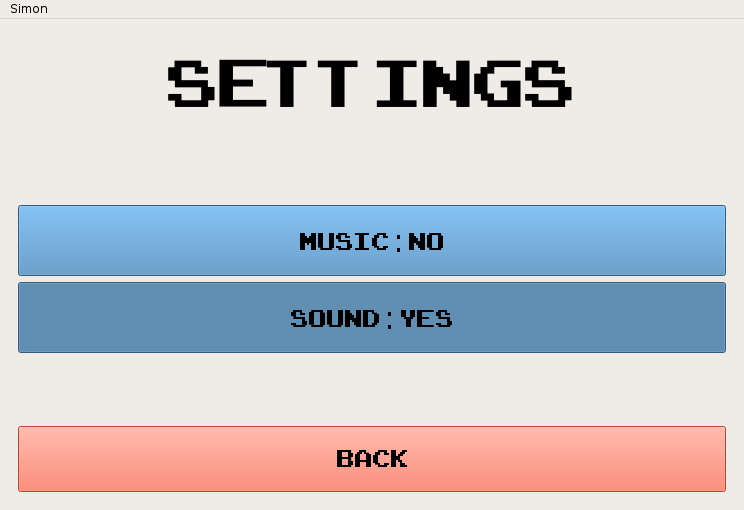
![Settings page] (https://raw.githubusercontent.com/Rajesh-Sec-Project/simon/master/docs.d/screenshots/settings.png)
The project uses the make build system. It smartly manages the compilation process for the host applications and the cross-compiled applications for the drone.
To build the embedded app, you will need a valid ARM cross-compiler, with its executable in your $PATH.
The host GUI application uses Qt5 and needs its SDK for building.
When in the root directory, you can run make debug or make release, depending on your goal. The command will build the drone app, the GUI app and all of their dependencies.
The project contains 2 misc targets, called drone-sandbox and host-sandbox, which are only present for test purposes. These targets are meant to build an executable, so as no source file are present in their src/ subdirectory, the compilation will fail (stating that no main function was found). If you want the whole build process to be successful, you will need to add a minimal main function in the drone-sandbox/src and host-sandbox/src directories, for example like this one in a file called main.cpp:
int main() {
    return 0;
}
If you prefer not to get involved into this, you can only build the individual targets, like drone or host, just cd into the corresponding directory and run make debug or make release.
If you want to put the application on the drone, run cd drone; make push. This target manages on its own the FTP connection to the drone and the push of the executable.
This assumes that your are on the drone's WiFi network, that its DHCP server has given you an IP and that you can ping 192.168.1.1 without issue.
The make push command usually takes a few seconds to copy the executable. If it returns immediately, it means that an error occurred (even if none is reported).
If this is happening, it can mean 2 things: either you did not meet the above preconditions, or the drone command is running (preventing you to overwrite the executable).
Just run the command killall -9 program.elf; killall -9 drone to terminate the drone application and turn back in a restartable state. Note that you may want to execute the previous command each time you want to relaunch the drone application.
The deployment puts the executable in the drone filesystem's /data/video/ directory, and you can run the app by opening a shell on the drone: telnet 192.168.1.1.
Here is a short roadmap of this repository's top-level structure :
- drone -> The embedded program sources
- drone-sandbox -> An empty playground for embedded programs
- host -> The host GUI client sources
- host-sandbox -> An empty playground for host programs
- docs.d -> Non-source folder for documentation stuff
- gdb.d -> Script folder for debugging and executable pushing
- hard.d -> Hardware sources folder
- libs.d -> Shared libraries (across drone and host) source folder
- mk.d -> Internal GNU Make scripts for building the project
- utils.d -> Utilities scripts folder