This is release v0.10.0 of OSPRay. For changes and new features see the changelog. Also visit http://www.ospray.org for more information.
OSPRay is an open source, scalable, and portable ray tracing engine for high-performance, high-fidelity visualization on Intel® Architecture CPUs. OSPRay is released under the permissive Apache 2.0 license.
The purpose of OSPRay is to provide an open, powerful, and easy-to-use rendering library that allows one to easily build applications that use ray tracing based rendering for interactive applications (including both surface- and volume-based visualizations). OSPRay is completely CPU-based, and runs on anything from laptops, to workstations, to compute nodes in HPC systems.
OSPRay internally builds on top of Embree and ISPC (Intel® SPMD Program Compiler), and fully utilizes modern instruction sets like Intel® SSE, AVX, AVX2, or Intel® Xeon Phi™ to achieve high rendering performance.
OSPRay is still in beta stage, and though we do our best to guarantee stable release versions a certain number of bugs, as-yet-missing features, inconsistencies, or any other issues are unavoidable at this stage. Should you find any such issues please report them immediately via OSPRay's GitHub Issue Tracker (or, if you should happen to have a fix for it,you can also send us a pull request); for missing features please contact us via email at ospray@googlegroups.com.
For recent news, updates, and announcements, please see our complete news/updates page.
Join our mailing list to receive release announcements and major news regarding OSPRay.
The latest OSPRay sources are always available at the OSPRay GitHub
repository. The default master
branch should always point to the latest tested bugfix release.
OSPRay currently supports both Linux and Mac OS X (and experimentally Windows). In addition, before you can build OSPRay you need the following prerequisites:
-
You can clone the latest OSPRay sources via:
git clone https://github.com/ospray/ospray.git -
To build OSPRay you need CMake, any form of C++ compiler (we recommend using the Intel® C++ compiler (icc), but also support GCC and clang-cc), and standard Linux development tools. To build the demo viewers, you should also have some version of OpenGL and the GL Utility Toolkit (GLUT or freeglut), as well as Qt 4.6 or higher.
-
Additionally you require a copy of the Intel® SPMD Program Compiler (ISPC). Please obtain a copy of the latest binary release of ISPC (currently 1.9.0) from the ISPC downloads page. The build system looks for ISPC in the
PATHand in the directory right "next to" the checked-out OSPRay sources.^[For example, if OSPRay is in~/Projects/ospray, ISPC will also be searched in~/Projects/ispc-v1.9.0-linux] Alternatively set the CMake variableISPC_EXECUTABLEto the location of the ISPC compiler. -
Per default OSPRay uses the Intel® Threading Building Blocks (TBB) as tasking system, which we recommend for performance and flexibility reasons. Alternatively you can set CMake variable
OSPRAY_TASKING_SYSTEMtoOpenMP. -
OSPRay also heavily uses Embree; however, OSPRay directly includes its own copy of Embree, so a special installation of Embree is not required.
Depending on your Linux distribution you can install these dependencies
using yum or apt-get. Some of these packages might already be
installed or might have slightly different names.
Type the following to install the dependencies using yum:
sudo yum install cmake.x86_64
sudo yum install tbb.x86_64 tbb-devel.x86_64
sudo yum install freeglut.x86_64 freeglut-devel.x86_64
sudo yum install qt-devel.x86_64
Type the following to install the dependencies using apt-get:
sudo apt-get install cmake-curses-gui
sudo apt-get install libtbb-dev
sudo apt-get install freeglut3-dev
sudo apt-get install libqt4-dev
Under Mac OS X these dependencies can be installed using MacPorts:
sudo port install cmake tbb freeglut qt4
Assume the above requisites are all fulfilled, building OSPRay through CMake is easy:
-
Create a build directory, and go into it
user@mymachine[~/Projects]: mkdir ospray/release
user@mymachine[~/Projects]: cd ospray/release
(We do recommend having separate build directories for different configurations such as release, debug, etc).
-
The compiler CMake will use will default to whatever the
CCandCXXenvironment variables point to. Should you want to specify a different compiler, run cmake manually while specifying the desired compiler. The default compiler on most linux machines is 'gcc', but it can be pointed to 'clang' instead by executing the following:user@mymachine[~/Projects/ospray/release]: cmake -DCMAKE_CXX_COMPILER=clang++ -DCMAKE_C_COMPILER=clang ..CMake will now use clang instead of gcc. If you are ok with using the default compiler on your system, then simply skip this step. Note that the compiler variables cannot be changed after the first
cmakeorccmakerun. -
Open the CMake configuration dialog
user@mymachine[~/Projects/ospray/release]: ccmake .. -
Make sure to properly set build mode and enable the components you need, etc; then type 'c'onfigure and 'g'enerate. When back on the command prompt, build it using
user@mymachine[~/Projects/ospray/release]: make -
You should now have
libospray.soas well as a set of sample viewers. You can test your version of OSPRay using any of the examples on the OSPRay Demos and Examples page.
A minimal working example demonstrating how to use OSPRay can be found
at apps/ospTutorial.cpp^[A C99 version is available at
apps/ospTutorial.c.]. On Linux build it in the build_directory with
g++ ../apps/ospTutorial.cpp -I ../ospray/include -I .. -I ../ospray/embree/common \
  ./libospray.so -Wl,-rpath,. -o ospTutorial
On Windows build it in the build_directory\$Configuration with
cl ..\..\apps\ospTutorial.cpp /EHsc -I ..\..\ospray\include -I ..\..  ^
  -I ..\..\ospray\embree\common ospray.lib
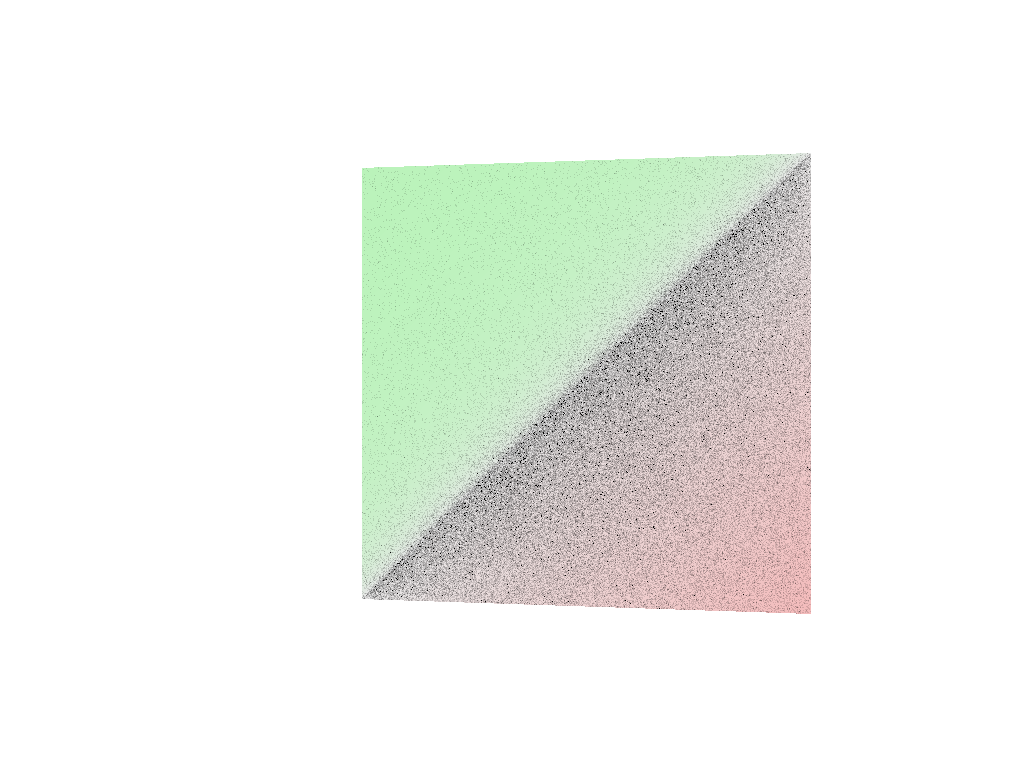
Running ospTutorial will create two images of two triangles, rendered
with the Scientific Visualization renderer with full Ambient Occlusion.
The first image firstFrame.ppm shows the result after one call to
ospRenderFrame -- jagged edges and noise in the shadow can be seen.
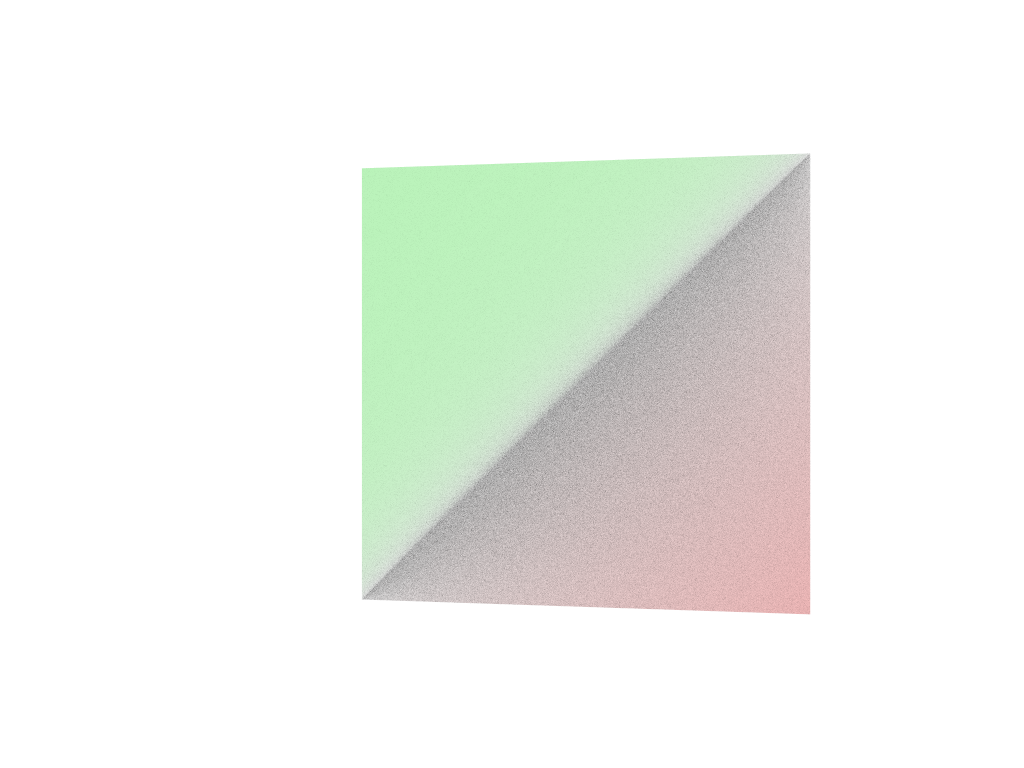
Calling ospRenderFrame multiple times enables progressive refinement,
resulting in antialiased edges and converged shadows, shown after ten
frames in the second image accumulatedFrames.png.
OSPRay also includes a demo viewer application ospQtViewer, showcasing all features
of OSPRay.

Additionally, OSPRay includes a demo viewer application
ospVolumeViewer, which is specifically tailored for volume rendering.

Several ready-to-run demos, models and data sets for OSPRay can be found at the OSPRay Demos and Examples page.