This repository stores our solution of the audio mixer project, that was part of the IAY0550 System-on-Chip Design course at Tallinn University of Technology in spring 2016.
Authors: Grabmann Martin, Eyyup Direk, Mezzogori Massimo
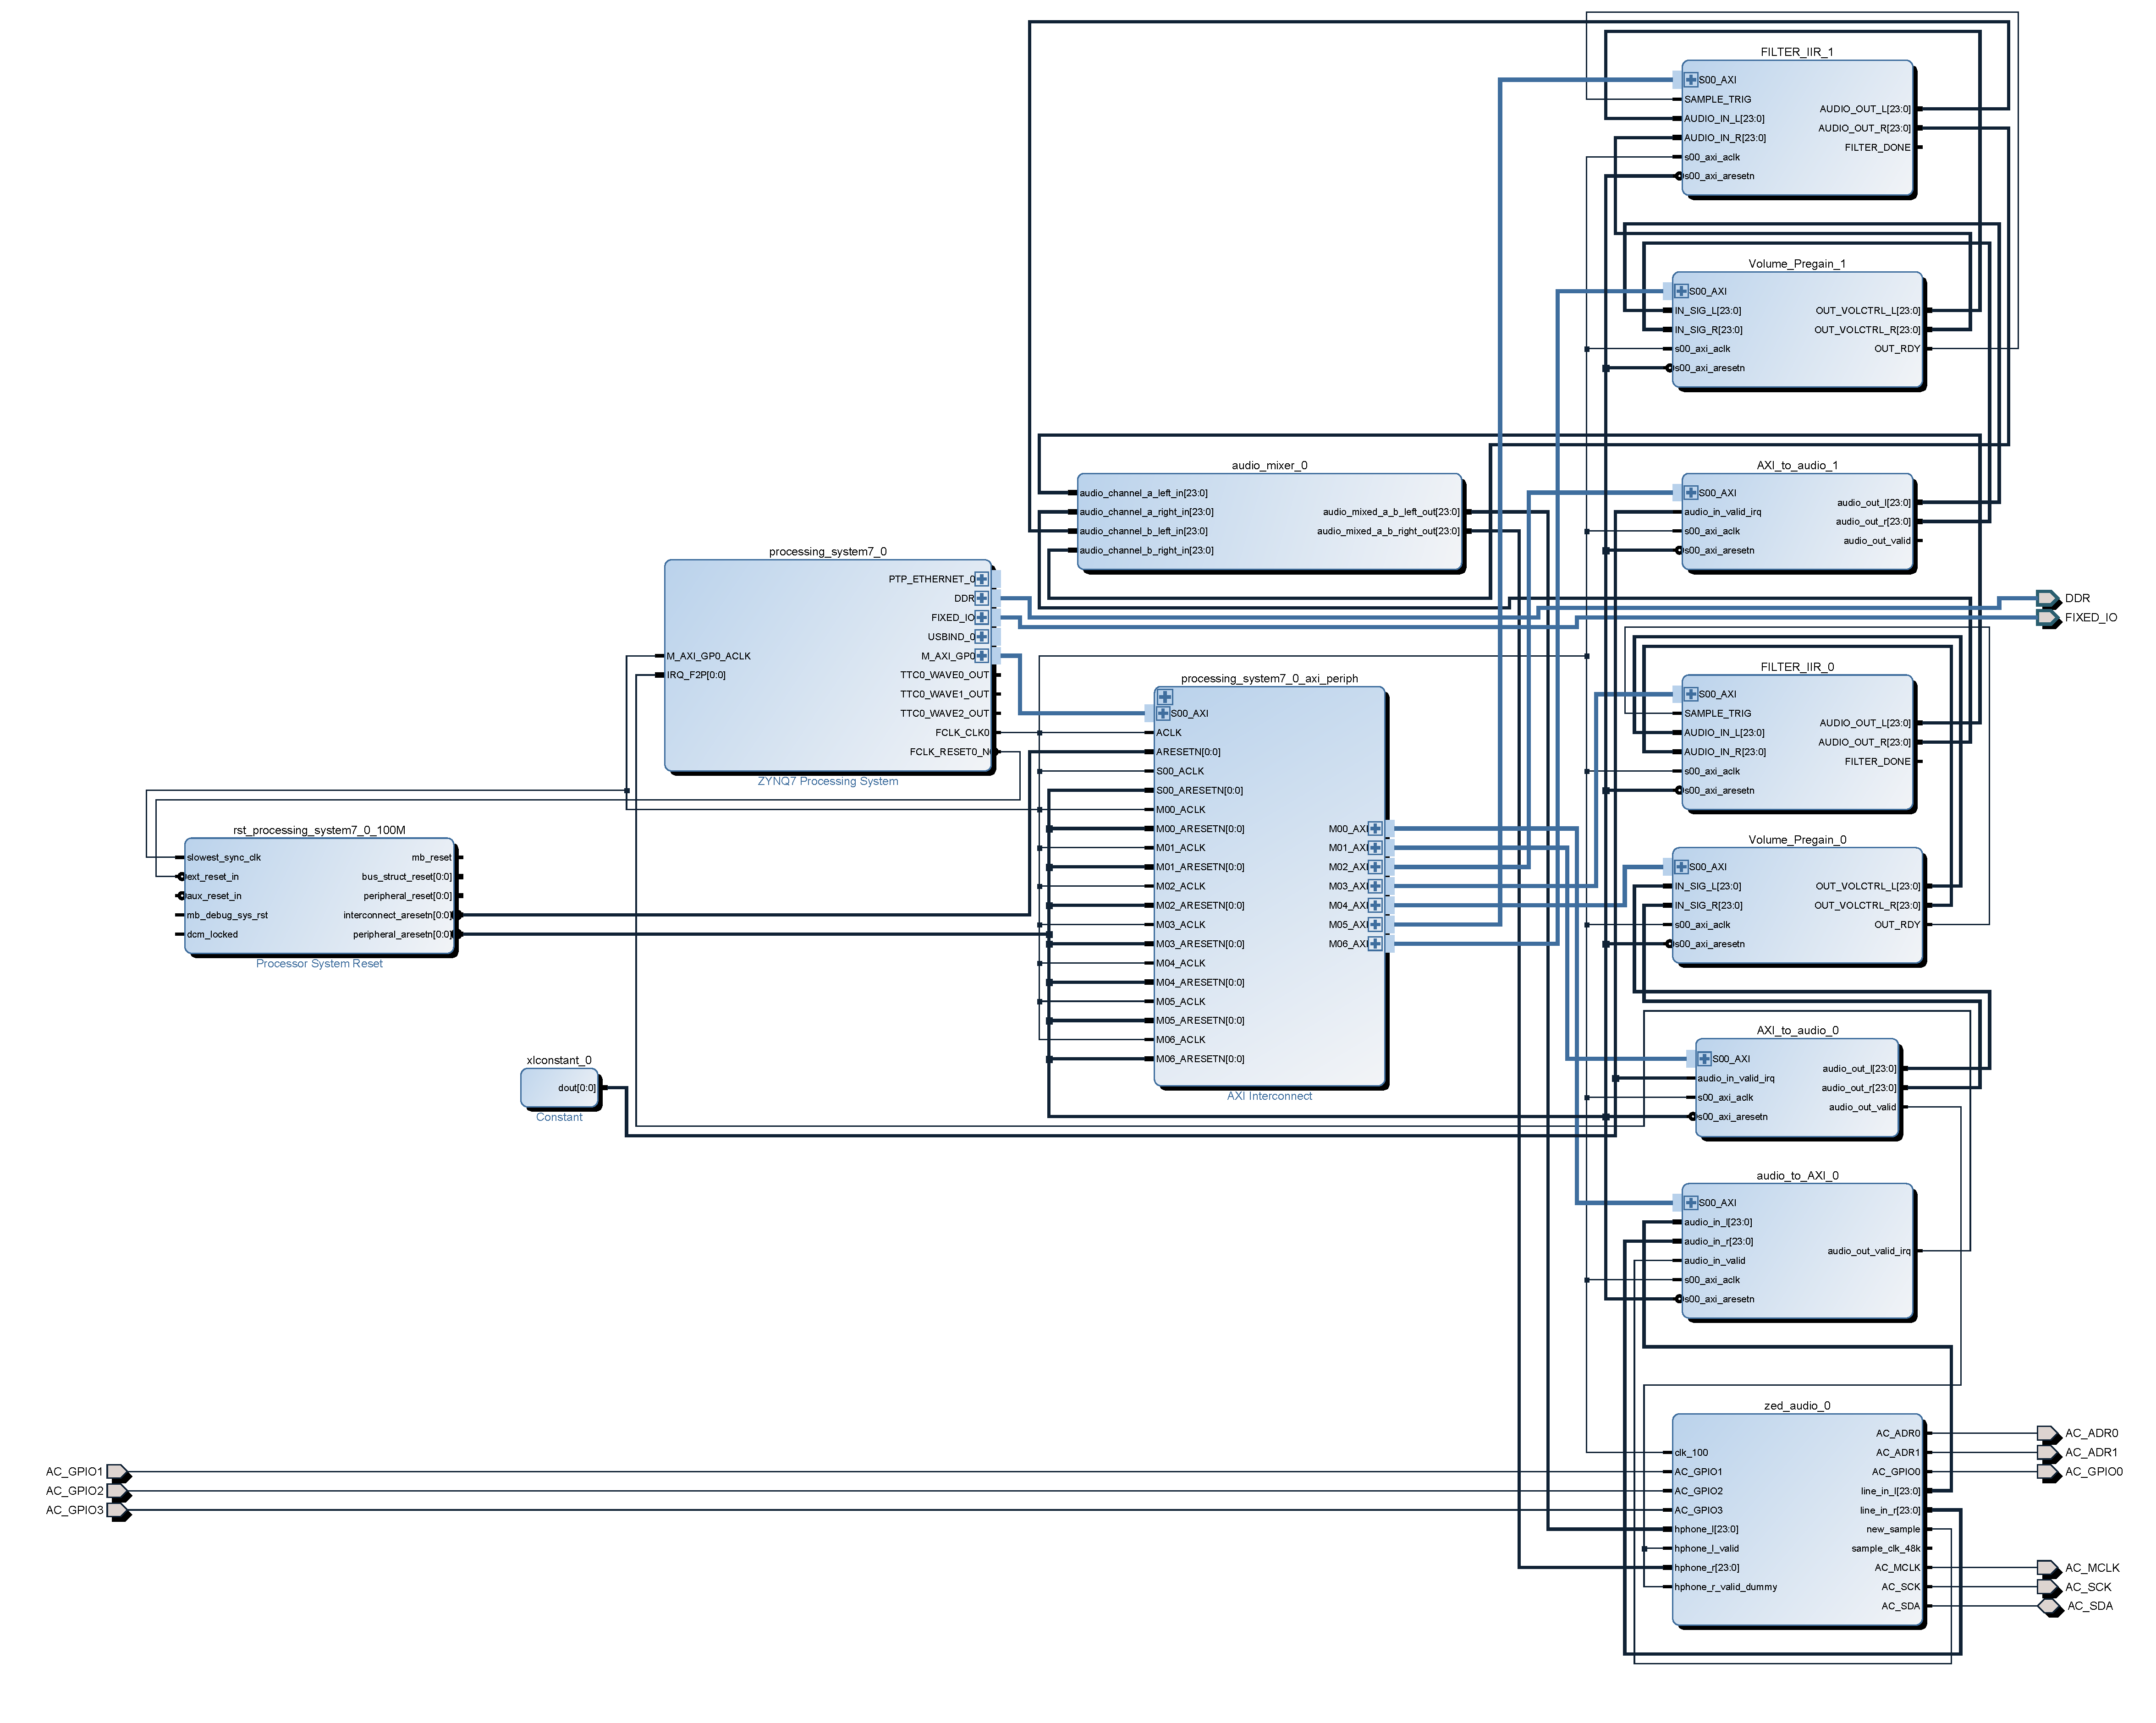
The purpose of this project is to build a audio mixer on the Zedboard running Linux. The Zedboard is built up on the Xilinx Zynq platform that combines an ARM CPU with a FPGA on one Chip. Therefore we had to develop a custom hardware design for the FPGA and write the software to control it from Linux. As shown in the following picture, one input stream is received from the network and one from the local line-in port. The signal path of each channel contains a volume control and a filter IP core. Their settings can be controlled from a linux command line interface to modifiy the contribution of each input to the mixed stream. The output stream is available at the headphone jack of the Zedboard.

We used Xilinx Vivado 2015.1 for the hardware design. Directory overview:
- vivado/
- project/
- Vivado project containing the block design
- ip_repo/
- Used IP Cores
- project/
- sd-image/
- Linux system
- Bootloader including the bitstream for the FPGA
Copy all files of the sd-image/ folder to the SD card.
Directory overview:
- bin/
- Contains the binaries
- final_mixer_driver
- Userspace driver
- uio_pdrv_genirq.ko
- Kernel module for Userspace I/O
- drivers/
- Contains the sources
Copy all files of the bin/ folder to the SD card.
First we need to connect an audio source to the line in, the Ethernet cable to the Ethernet port and the headphones to the headphones out. To start the driver on the Zedboard type:
mount /dev/mmcblk0p1 /mnt
cd /mnt
./change_ip_and_mac.sh [PC Number]
insmod uio_pdrv_genirq.ko
./final_mixer_driver
The started user interface looks as follows:
Welcome to the Audio MIXER driver
Initialization started...
Initialization finished...

Select the channel to change
0 : for network channel
1 : for line in channel
> _
Now we can hear the mixed stream on the headphone. If we want to listen only to the line in source, we have to disable the network channel. We can do it in two ways: set the volume of the channel to 0 or turn off all the filters.
As an example we disable the volume of the network channel. First we select the channel 0. We choose the V option and set the volume value to 0.
Select the channel to change
0 : for network channel
1 : for line in channel
> 0

Select the setting to change:
V : for volume control
F : for filter control
L : for list of current settings
> V

Enter the value for the volume [0 - 4096]> 0
Now we can hear only the line in channel. If we want to play with the sound we can enable or disable the low, band, high pass filters of the channel. For example if we want to hear only the low frequency range of the line in channel, we need to select channel 1 and select the F setting.
Select the channel to change
0 : for network channel
1 : for line in channel
> 1

Select the setting to change:
V : for volume control
F : for filter control
L : for list of current settings
> F
Now we have to insert a bitmask of three 1 or 0. A 1 represents an enabled filter and 0 a disabled one. The first digit is related to the low pass filter, the second one to the band pass filter and the third one to the high pass filter. If we want to enable only the low pass filter we need to pass 100 to the prompt.
Enter the filter value [LBH]> 100
If we want to list the configuration of a channel we can use the L command.
Select the setting to change:
V : for volume control
F : for filter control
L : for list of current settings
> L

List of setting of network channel:
Volume LEFT: 0
Volume RIGHT: 0
Low Pass Filter: ON
Band Pass Filter: ON
High Pass Filter: OFF"

Select the channel to change
0 : for network channel
1 : for line in channel
> _
##Team Organisation
- Martin Grabmann
- Team leader, IP core design, programming
- Eyyup Direk
- IP based hardware design, code review and test
- Mezzogori Massimo
- Programming, code review and test
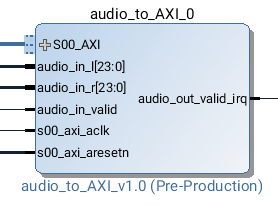
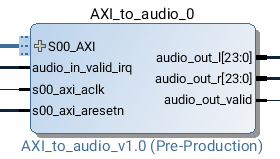
In the first step we created the two IP cores Audio to AXI and AXI to Audio that we used in our design. In additon we implemented an Audio Copy Driver that reads audio samples from the Audio to AXI core and writes them back to the AXI to Audio core. The analog audio signal is taken by the board through the Audio IP given by the lecturer. This IP is an interface for connecting the ADAU1761 audio codec. We connected this component with the AXI components to be able to obtain a simple audio loop-back through linux.
We created this custom intellectual property by our own. Therefore we used the Create IP wizard in Vivado to create a new AXI Lite peripheral. We added the input ports for the audio interface to the generated VHDL wrapper and connected them to the AXI bus registers. In addtion we added an interrupt line to the core to signal the processing system that a new sample is available.
As for the Audio to AXI we created this custom IP by our own. This IP core takes the samples from the AXI bus and provides them to the other audio IP cores. We created an AXI Lite peripheral and added to the VHDL description inputs and outputs of our entity to make it compatible with the other audio components.
This Linux driver is just copying data from the Audio to AXI to the AXI to Audio device. The first thing that we did here was to access the devices that we created before. To do this we used '/dev/uio0' for the Audio to AXI device because it needs to handle interrupts and we used '/dev/mem' for the AXI to Audio because in this case interrupt handling is not required. After opening and mapping the memory, we repeated in a loop the following instructions: enable the interrupt for the Audio To AXI device, wait for the interrupt, copy the content of the Audio to AXI registers to the AXI to Audio registers.
In this way we transferred the audio from the line in to the headphone out ports of the ZedBoard. For debugging puproses we added initially output messages to the while loop. Since the printf() function takes a lot of time, the timing requirements of the 48kHz audio stream could not be met and the output stream sounded terrible. We had to remove them finally.
In this step of the project, we wrote a new audio driver which is capable of receiving audio packages from the local network and forward them to the AXI bus.
The audio network stream is specified as followed:
- Network protocol: UDP
- Sender address: Broadcast (10.255.255.255)
- Port: 7891
- Packet size: 256 bytes
- Size of one sample: 4 bytes
- Audio channels: 1, Mono (copy one stream to both left and right channels)
- Audio sample format: PCM, 4 byte samples, can be directly written to the audio IP-s input
To simplify this task a library file with two helper functions was provided by the lectures. We configured the client to receive the broadcasted UDP packages using the function int udp_client_setup(char *broadcast_address, int broadcast_port) contained in the library udpclient.h.
Due to the fact that the network stream is received in 256 byte packages and one audio sample is only 4 byte big, we had to buffer the received data. We followed the provided hints and used a FIFO that is accessed from different threads to solve this problem.We created a FIFO with the unnamed pipes Linux implementation. Named pipes would have the advantage that they can be accessed from different processes, but thats not needed here, because the threads are sharing the same memory. In the main loop we received the packets from the server using the function int udp_client_recv(unsigned *buffer,int buffer_size ) and wrote them in the FIFO. To read the data from the FIFO we used a POSIX thread. The thread copies one sample a time (4 byte) from the FIFO to the AXI-to-Audio registers that are accessed via the /dev/mem/ interface. Since the audio stream is mono we copied the same sample to both channels. If the FIFO is empty the thread is waiting until new data is available.
During the implementation of this step we faced some problems with the writing and reading from the FIFO. The FIFO expects char pointers (1 Byte) as parameters but the audio samples are 4 Byte big. The problems could be solved with the right casting of the pointers.
To test it, we need to configure the network interface of the zedboard properly. To simplify this we used the provided change_ip_and_mac.sh script, which is present in the same repository like the updclient.h library.
In this step of the project, we added a new IP which takes two audio streams as input and outputs a mixed stream. This output is now connected to the zedaudio IP which is the final IP before the stream is released to the headphones. In the previous steps, we have already achieved to process streams from line in and network seperately. Basically we merged for this step our previous two drivers together. Therefore we took the receive driver from step 2 and added a new thread that copies the samples like the copy driver did in step 1. For the hardware design part in vivado, we used the supplied Audio Mixer IP. Before adding the Audio Mixer IP into the design first we doubled the AXI to Audio IP, so we could get both streams from the driver. We connected the audio mixer output to the Audio IP output. The rest of the design has been kept same as in the previous step. We faced no problems during this implementation. The driver worked out of the box.
The final step of the project was to add a volume control and a filter bank in the signal path of both input channels. We reused the provided IP cores from the former lab exercises 4. The final block design is shown in the picture below. On the software side we had to create a user interface that allows the user to control the settings of both IPs from the linux command line. Since the user interface is waitung on the user input, it is an additional concurrent acitivity in our program. Therefore we moved the receiving of the network packages to an additional thread and implemented the user interface in the main loop. The user interface is designed very simple. We are just using the functions getchar() and scanf() to read the user input and control the flow throug varios conditional statements. The functionality of the user interface is explained in the How to use it section.
The tasks are spread between the threads in the final driver as follows:
- fifo_write_thread
- receives network packages and write them to the FIFO
- fifo_read_thread
- reads samples from the FIFO and writes them to AXI to Audio channel 0
- copy_thread
- reads samples from Audio to AXI device and writes them to AXI to Audio channel 1
- main
- user interface
We successfly solved the tasks in the given time frame. For all implementation and test related acitvities we needed around 5 lab sessions a 2 hours. All requirements are fullfiled and tested. We faced no serious problems during the implementation. However the sound quality of the mixed stream is not satisfying. We guess that this is caused by the quality of the provided audio IP cores (volume control and filter) and not related to our implementation.
[1]: https://github.com/ems-kl/zedboard_audio "Audio IP"
[2]: https://github.com/karljans/SoC_Design "Mixer IP and UDP Library"
[3]: http://man7.org/linux/man-pages/man2/pipe.2.html "Unnamed Pipes"
[4]: http://man7.org/linux/man-pages/man7/pthreads.7.html "POSIX Threads"
[5]: https://github.com/tsotnep/ip_repo_vivado "Filter IP and Volume Control IP"